How to Fix Garage Door Chain Slack
Is your garage door chain sagging or making unusual noises during operation? Knowing how to fix garage door chain slack can save you from costly repairs and ensure your door runs smoothly. At Kraus Garage, we specialize in garage door services and repairs across New Jersey, offering expert solutions for homeowners who value safety and performance. So, what causes chain slack, and how can you fix it before it leads to bigger issues?
Fixing garage door chain slack is a straightforward process that involves adjusting the tension on the opener’s chain system. This article will walk you through identifying the signs of slack, using the correct tools, and safely tightening the chain. With guidance from trusted professionals like those at Kraus Garage, you’ll be able to restore your garage door’s function in no time.
But that’s just the beginning. Industry experts like Bob Vila emphasize the importance of regular garage door maintenance to avoid long-term damage. Want to know the exact steps and tools you’ll need? Let’s dive into the complete guide and get your garage door back in top shape today.
Understanding Garage Door Chain Mechanisms
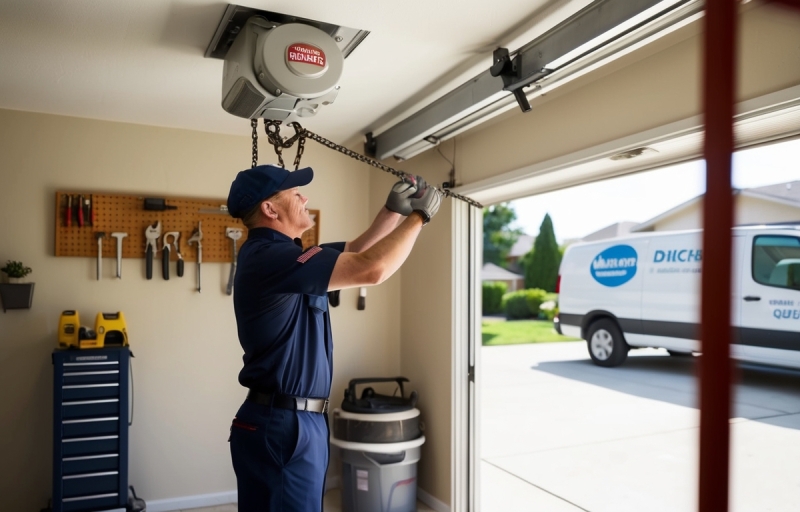
A garage door opener system includes several key components. The motor, rail, trolley, and chain drive work together to move the door. The chain, similar to a bicycle chain, connects the trolley to the motor. When activated, the motor pulls the chain, which moves the trolley along the rail. This action lifts or lowers the garage door smoothly.
The chain drive is known for its strength and durability. However, it requires proper tension to function correctly. If the chain is too loose, it may slap against the rail or derail. If it’s too tight, it can strain the motor and wear out components faster. Balanced tension ensures quiet, efficient operation and extends the system’s lifespan.
Routine maintenance is essential to avoid costly garage door repairs. A well-maintained chain also enhances safety by preventing unexpected failures. For expert help, explore our services or schedule a consultation through our contact page. Keeping your chain drive in check ensures your garage door operates reliably every day.
Common Causes of Garage Door Chain Slack
Over time, garage door chains naturally loosen due to regular wear and tear. Metal components degrade, especially when exposed to moisture or dust. Improper installation is another frequent culprit. If the chain isn’t tensioned correctly from the start, slack develops quickly. Temperature fluctuations also play a role. Metal expands and contracts, causing the chain to shift out of alignment.
Frequent use without routine maintenance accelerates the problem. Lubrication dries out, and parts begin to grind. This neglect leads to uneven tension and eventual slack. You might notice jerky door movement or loud clanking sounds during operation. These are clear signs the chain needs attention.
Another red flag is an uneven door. If one side rises faster than the other, the chain may be loose. Ignoring these symptoms can lead to more costly repairs. Regular inspections can prevent major issues. For professional help, explore our garage door repairs or learn more about our services. Addressing chain slack early ensures smooth, quiet, and safe door operation.
Tools and Materials Needed to Fix Chain Slack
To fix garage door chain slack, gather essential tools before starting. You’ll need an adjustable wrench, flathead screwdriver, and a sturdy ladder. Wear safety gloves and protective eyewear to avoid injury. A socket set may also be necessary for tightening bolts and nuts.
Have a silicone-based lubricant on hand to reduce friction and noise. If the chain is worn or damaged, consider purchasing a replacement chain or chain tensioner. Always unplug the garage door opener before working to prevent accidental activation.
Use a flashlight to inspect hard-to-see areas. Keep a clean rag nearby to wipe off excess grease or debris. Avoid using petroleum-based lubricants, as they attract dust and grime.
Ensure the ladder is stable and placed on a flat surface. Never over-tighten bolts, as this can damage the mechanism. If unsure about any step, consult a professional for garage door repairs.
For more guidance, visit our FAQ section to explore common troubleshooting tips. Proper preparation ensures a smoother, safer repair process.
Safety Precautions Before Starting the Repair
Before starting any repair, disconnect the power to the garage door opener. This step prevents accidental activation during maintenance. Always ensure the garage door is completely closed. A partially open door can fall, causing serious injury or damage. Wear protective gloves and safety glasses to shield yourself from sharp edges and debris. It’s also wise to have a second person nearby. They can assist with tools or help stabilize the ladder.
Avoid working alone, especially if you’re unfamiliar with garage door mechanisms. A helper adds an extra layer of safety. If you’re unsure about any step, consider reaching out to a professional. Visit our services page for expert assistance. For more insights into common issues, check our FAQ section.
Use a sturdy ladder and place it on a flat surface. Keep your workspace well-lit and free of clutter. These precautions reduce the risk of accidents. Taking the time to prepare properly ensures a smoother and safer repair process.
Step-by-Step Guide to Tightening the Garage Door Chain
Begin by unplugging the garage door opener for safety. Locate the adjustment bolt, typically found near the trolley on the opener rail. This bolt connects to the chain tensioning mechanism. Use a ruler or tape measure to check the chain slack. Ideally, the chain should sag no more than half an inch at the midpoint.
Next, grab a wrench and turn the adjustment bolt clockwise. Start with one full turn, then recheck the slack. Continue adjusting in small increments. After each turn, inspect the chain’s alignment and tension. It should be taut but not overly tight.
Watch for signs of over-tightening, such as a strained motor sound or a rigid chain. If you notice these, loosen the bolt slightly. Over-tightening can damage the opener or cause premature wear.
For more help, visit our services page or check our FAQ section. Always test the door manually after adjustments. It should move smoothly without resistance. Reconnect the power and run a full open-close cycle to confirm proper operation.
Testing the Garage Door After Adjustment
Once the adjustment is complete, reconnect the power to your garage door opener. Activate the door using the wall switch or remote. Observe the chain closely during operation. It should move smoothly without jerking or sagging. A properly adjusted chain produces a steady, low hum—not a loud rattle or grinding noise.
Run the door through at least three full open and close cycles. This helps confirm consistent performance and ensures the chain remains in place. Watch for any unusual movement or hesitation. If the door struggles or stops midway, recheck the chain tension.
During testing, listen carefully. Any clanking or excessive vibration signals a problem. The chain should stay taut but not overly tight. If needed, make minor adjustments and test again.
For more expert tips and reliable service, explore our garage door services. You can also learn more about our team on the About Us page. Regular testing ensures your garage door operates safely and efficiently every time.
When to Replace the Chain Instead of Adjusting
If your garage door chain shows rust, kinks, or excessive stretching, it’s time to replace it. A worn chain may slip or make loud grinding noises. If adjustments no longer improve performance, replacement is the safer option. Constant tightening is a red flag that the chain has reached its limit.
Adjusting a chain is quicker and cheaper upfront. However, frequent fixes add up in time and cost. Replacing the chain offers a long-term solution and restores smooth operation. It also prevents potential damage to the opener system.
When choosing a new chain, always check your opener’s model and specifications. Not all chains are universal. Use the manufacturer’s guide or consult a professional to ensure compatibility. You can also explore our shop for high-quality replacement parts.
For expert help, visit our garage door repairs page. Our team ensures proper installation and long-lasting results. Don’t wait for a complete breakdown—act early to avoid costly repairs.
Preventative Maintenance Tips for Garage Door Chains
Inspect your garage door chain every three months. Look for signs of wear, rust, or misalignment. Lubricate the chain using a silicone-based spray to reduce friction and prevent corrosion. Avoid using grease, as it attracts dust and debris. Clean the chain regularly with a dry cloth to remove buildup. This helps maintain smooth operation and extends the chain’s lifespan.
Keep the area around the chain free from moisture. Humidity can accelerate rust and damage components. If you notice unusual noises or jerky movement, schedule a professional check-up. Experts can identify hidden issues before they become costly repairs.
Consider enrolling in a maintenance membership for consistent service. It ensures your system stays in peak condition year-round. For added peace of mind, book a yearly inspection through our garage door services.
Routine care not only improves performance but also boosts safety. Don’t wait for a breakdown. Stay proactive and protect your investment with regular maintenance.
Troubleshooting Other Chain-Related Issues
Chain-driven garage doors can face several issues beyond slack. One common problem is the chain jumping off the track. This often results from misalignment or worn-out sprockets. To fix it, disconnect the opener, realign the chain, and inspect the sprockets for damage. Lubricate all moving parts to prevent future misalignment.
Another frequent issue is excessive noise during operation. This could stem from loose hardware or lack of lubrication. Tighten all bolts and apply a high-quality lubricant to the chain and rollers. If the noise persists, the motor or chain may be worn and need replacement.
A jerky or uneven door movement may indicate a damaged chain or bent track. Inspect both carefully. Replace any damaged components immediately to avoid further complications.
If you notice repeated issues or the chain continues to derail, it’s time to consult a professional. Complex problems can worsen without expert attention. Visit our services page for expert assistance or check our garage door repairs for more details. Don’t wait until a minor issue becomes a costly repair.
Frequently Asked Questions (FAQs)
The garage door chain should have about 1/2 inch to 1 inch of slack. This allows smooth movement without strain. If the chain is too tight, it can damage the motor or wear out the chain prematurely. On the other hand, too much slack may cause the door to jerk or misalign.
You can use WD-40, but it’s not ideal for long-term lubrication. It evaporates quickly and may attract dust. Instead, use a silicone-based or lithium grease for better performance. These options reduce friction and last longer.
Check the chain tension every six months. Regular inspections help prevent costly repairs and ensure safe operation. If you hear unusual noises or notice jerky movement, inspect it sooner.
Fixing chain slack yourself is possible, but it carries risks. Incorrect adjustments can lead to injury or further damage. If you’re unsure, it’s best to contact a professional. Visit our services page for expert help or check our Morristown Garage Doors FAQ for more insights.